How to change screen resolution in Microsoft Remote Desktop app
In this short and to the point article, I will show you how to change the screen resolution settings for a Microsoft Remote Desktop connection. This guide is relevant to the new Remote Desktop UWP app that is installed via the Microsoft store. These steps are different when using the built-in RDP client (mstsc.exe) for Windows 10.
Time needed: 1 minute
How to change screen resolution in Microsoft Remote Desktop app
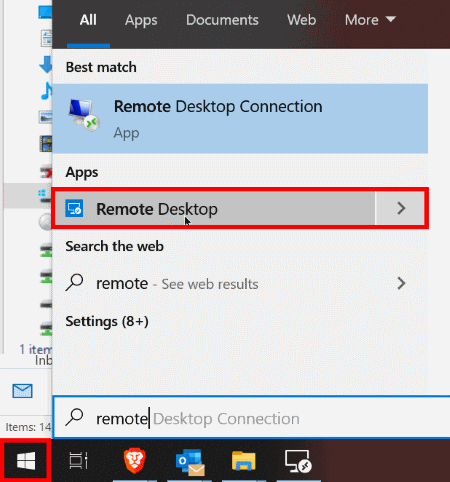
- Open Remote Desktop App
Click Start, type “Remote”, click on Remote Desktop to open the application
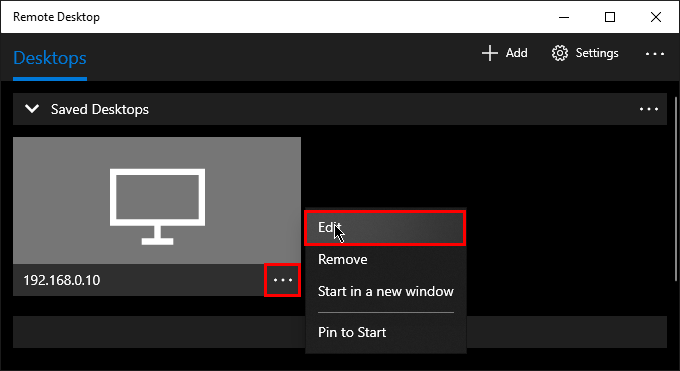
- Click the triple dot (…) next to the connection you want to change
The “Edit a desktop” settings panel will open to the right.

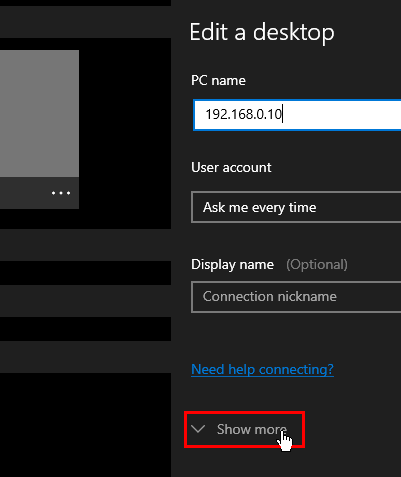
- Click “Show more” in the right pane
Scroll down and click Show more to reveal advanced connection settings. You can use the mouse wheel or the narrow scroll bar to scroll down.

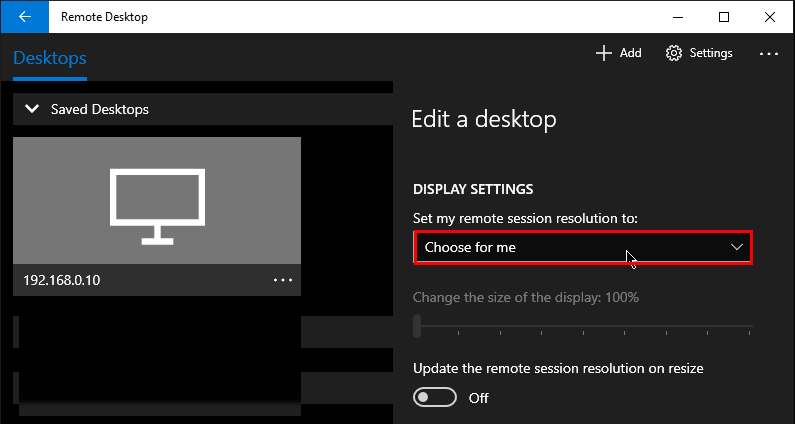
- Scroll down to Display Settings and select your desired screen resolution
The resolutions shown are based on what your computer support. To save your settings simple click away from the panel or on the connection itself.

Watch this short animated gif to see the above steps in action.

I hope this short how-to article has helped you out! Now you know how to change screen resolution in remote desktop session on windows 10.
While you are here…
You might be interested in more useful Windows tutorials or explore all my other tech articles at jcutrer.com.
