
Spin up a ubuntu server in 5 minutes on DigitalOcean.com
In this tutorial I’ll show you how to create your very own cloud hosted server on digitalocean.com
DigitalOcean.com is a cloud hosting provider that makes it very simple for anyone to create and run a virtual server connected directly to the internet. DigitalOcean.com calls these servers Droplets. They offer a range of operating systems to choose from including Ubuntu, CentOS, Debian, Fedora, CoreOS, and FreeBSD.
In additional to the above linux-based operating systems they offer many One-Click application droplets, which are basically a server with preinstalled, reconfigured software. Here is a list of their current One-Click Application droplets.
- Django – A Popular Python Web Application Framework
- Docker – Containerized Applications
- Dokku – mini-Heroku PaaS Server using docker
- Drone – Continuous Integration Server
- Drupal – A Popular PHP-based Content Management System
- ELF – Elasticsearch, Logstash, and Kibana Logging Stack
- FreeBSD AMP – FreeBSD, Apache, MySQL, and PHP Stack
- Ghost – Open Source blogging platform
- GitLab – Self-hosted git repository server
- Joomla – PHP-based Content Management System
- LAMP – Linux, Apache, MySQL, PHP Stack
- LEMP – Linux, nginx, MySQL, PHP Stack
- Magento – A PHP-based eCommerce Application
- MEAN – MongoDB, ExpressJS, AngularJS, NodeJS Stack
- MediaWiki – A PHP-based Wiki that powers wikipedia.org
- MongoDB – A modern NOSQL Database Server
- Node.js – A server-size Javascript framework
- ownCloud – Similar to Dropbox but running on your own server
- Redmine – Ruby-based project management web application
- Ruby on Rails – Ruby-based Web Application Framework
- WordPress – A PHP-based blogging platform
For this tutorial we are going to keep it simple by creating a Ubuntu linux server. To get started you will need to create an account a digitalocean.com. Use the follow link and you will get $10 credit to play with, $10 will get you 2 months FREE hosting of their smallest droplet size.
Signup for DigitalOcean.com and get $10 FREE credit
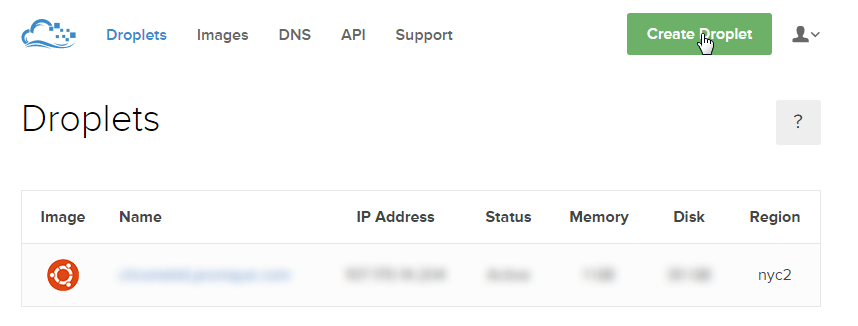
Once you are logged in you will see a big green button that say ‘Create Droplet’. Go ahead and click it and follow along.
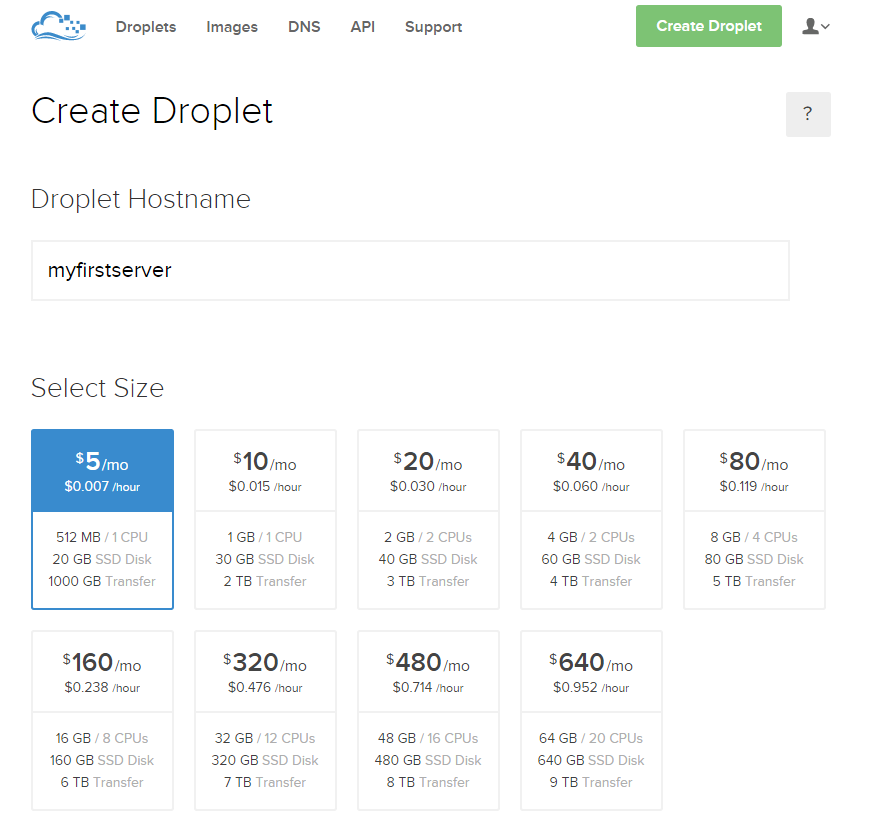
- Click “Create Droplet”
- Enter a Hostname: myfirstserver
- Select Size: $5/mo
- Region: Choose your preferred region, I chose New York
- Available Settings: Check none since this is just a test
- Select Image: Ubuntu 14.04 x64
- Add SSH Keys: Skip for now
- Click “Create Droplet”
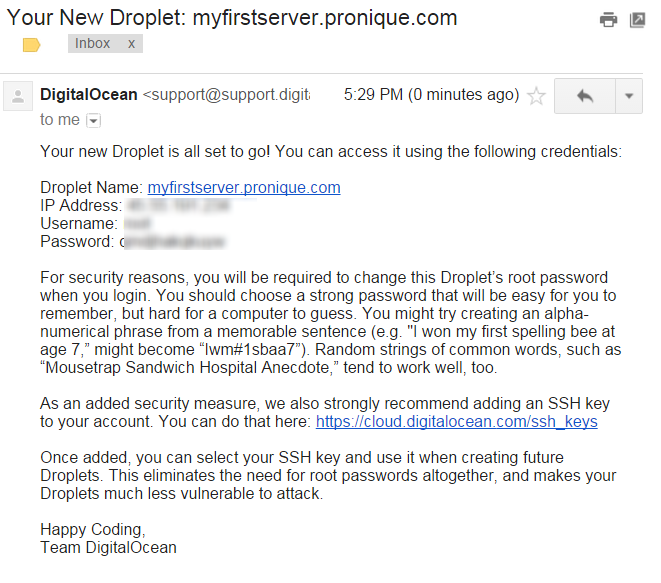
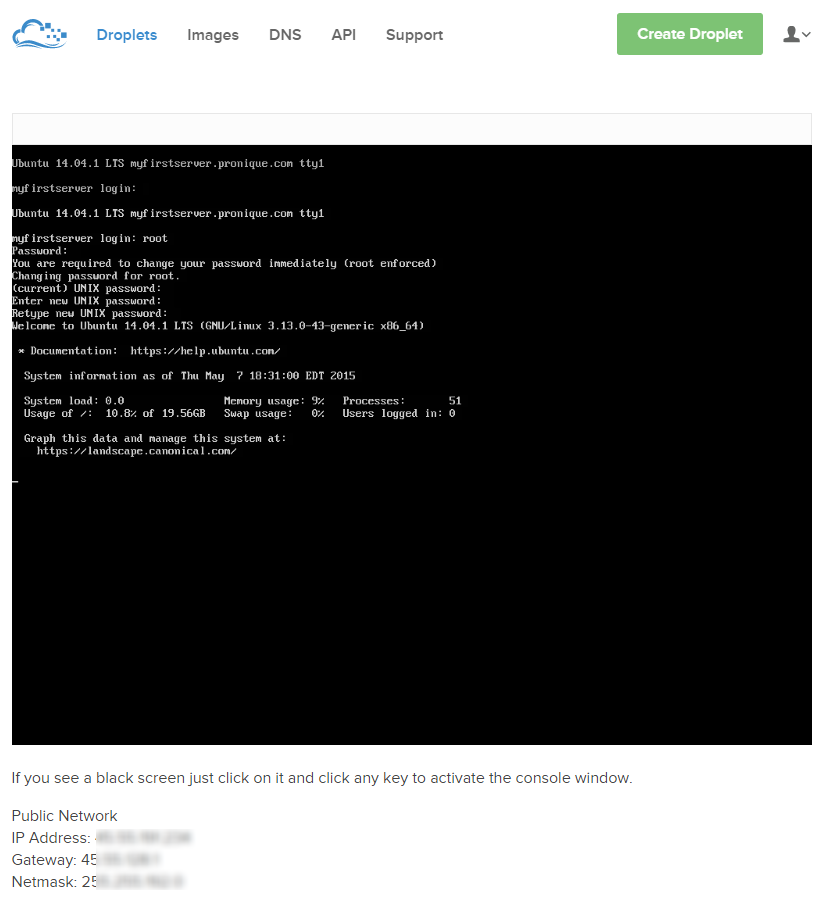
New Droplet Email Screenshot
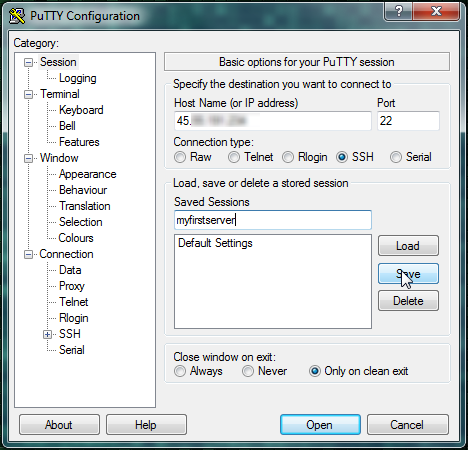
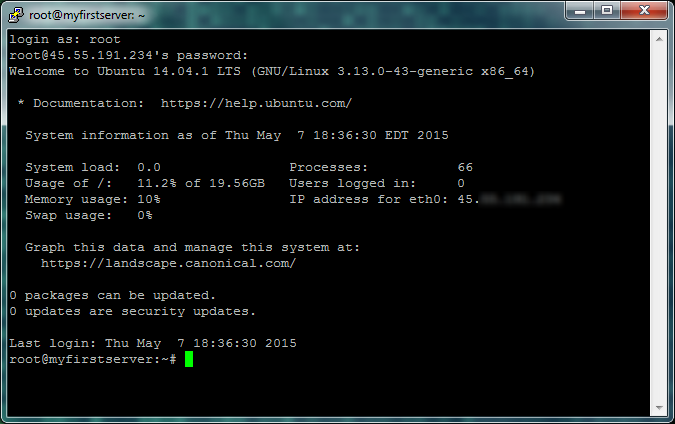
Next, lets connect via SSH (Secure Shell) using a dedicated terminal emulator. If you don’t already have one, putty is a quick and free option. I highly recommend SecureCRT if you spend any amount of time managing servers or routers. For this tutorial I will use putty, download it over at http://www.chiark.greenend.org.uk/~sgtatham/putty/download.html, I chose the windows installer.
- Install and Launch putty
- Enter your server’s Hostname [IP Address of Droplet]
- Connection type: SSH
- Name the Session: myfirstserver and click “Save”
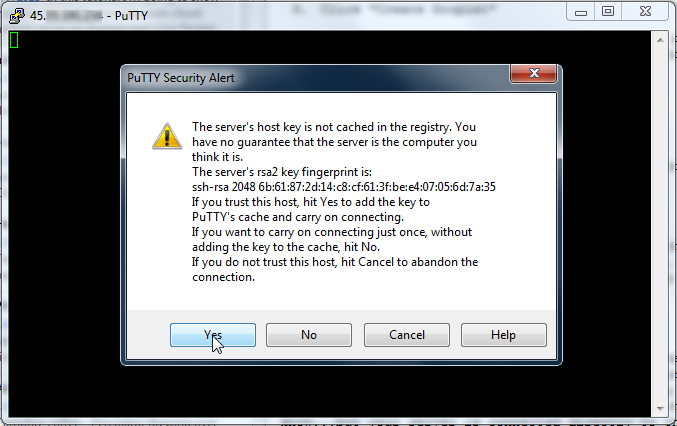
- Click “Open” to connect
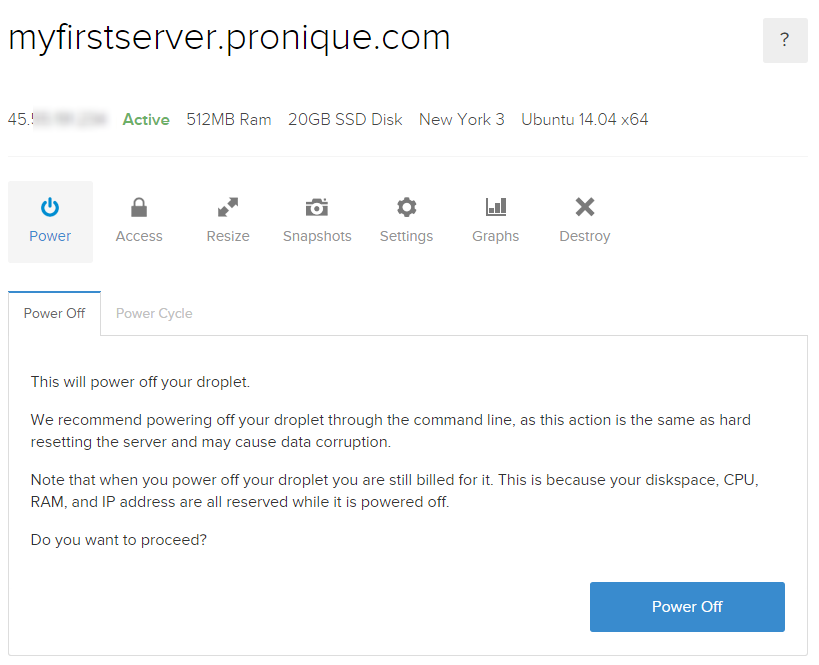
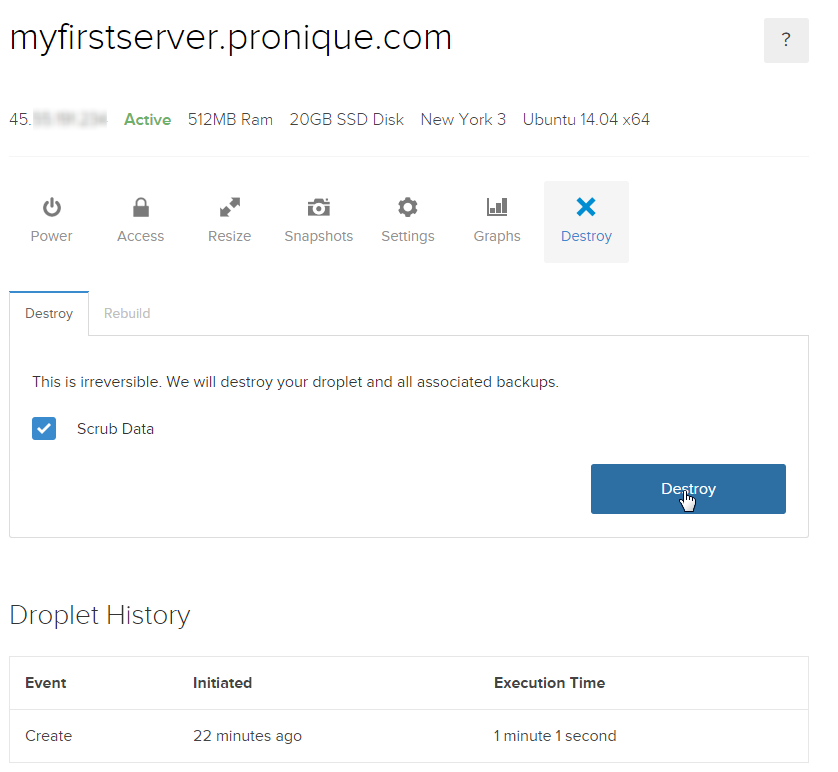
A few notes about your new server. Now that your server is provisioned and running you are being billed for it. If you selected the smallest server option this adds up to $5/month. As log as your server is provisioned you will be billed, even if you power off your server. So if you created your server to follow along with the tutorial but have no real use for it right now, you can go back into the digitalocean control panel and delete your droplet.
- Click the “Destroy” tab
- Uncheck scrub data, unless your server contains sensitive data.
- Click the big blue “Destroy” button
Check back or Subscribe via email for these forthcoming tutorials
